laundry
How to Clean a Washing Machine That Smells
Locate washer odor in the gasket, drawer, drum, filter area, or habits, then clean with one washer-safe product at a time.
Find where the odor starts: gasket, drawer, drum, filter area, drain, or wet laundry habits, then use one washer-safe cleaning product at a time.
Safety note
Use only one washer-cleaning product at a time and follow the washer manual. Never mix bleach, vinegar, ammonia, acids, or washer cleaners.
What this page is meant to solve
Diagnose odor location and clean the washer without mixing products.
When this advice applies
Households searching for how to clean a washing machine that smells. People who need a practical first pass with product labels, care labels, and material limits kept visible.
Why the order matters
Laundry choices become expensive after heat. Treat, rinse, and inspect before the dryer or hot cycle sets the problem. Finish line: The stain or odor is improved before heat, the fabric still feels normal, and no product residue remains.
When to stop and reassess
Active leaks, structural damage, electrical hazards, mold remediation, pest infestations, or professional repair work. Situations where product labels, care labels, food safety guidance, or manufacturer instructions conflict with this page. Use only one washer-cleaning product at a time and follow the washer manual. Never mix bleach, vinegar, ammonia, acids, or washer cleaners.
Why these steps are ordered this way
Washer odor can return when the page treats only the visible symptom instead of the source.
Odor can come from moisture, detergent residue, lint, gasket buildup, or drain problems, so location matters.
FTC care-label and Poison Control guidance keep laundry chemistry and product mixing conservative.
The towel odor page tests whether the washer fix solved downstream laundry smell.
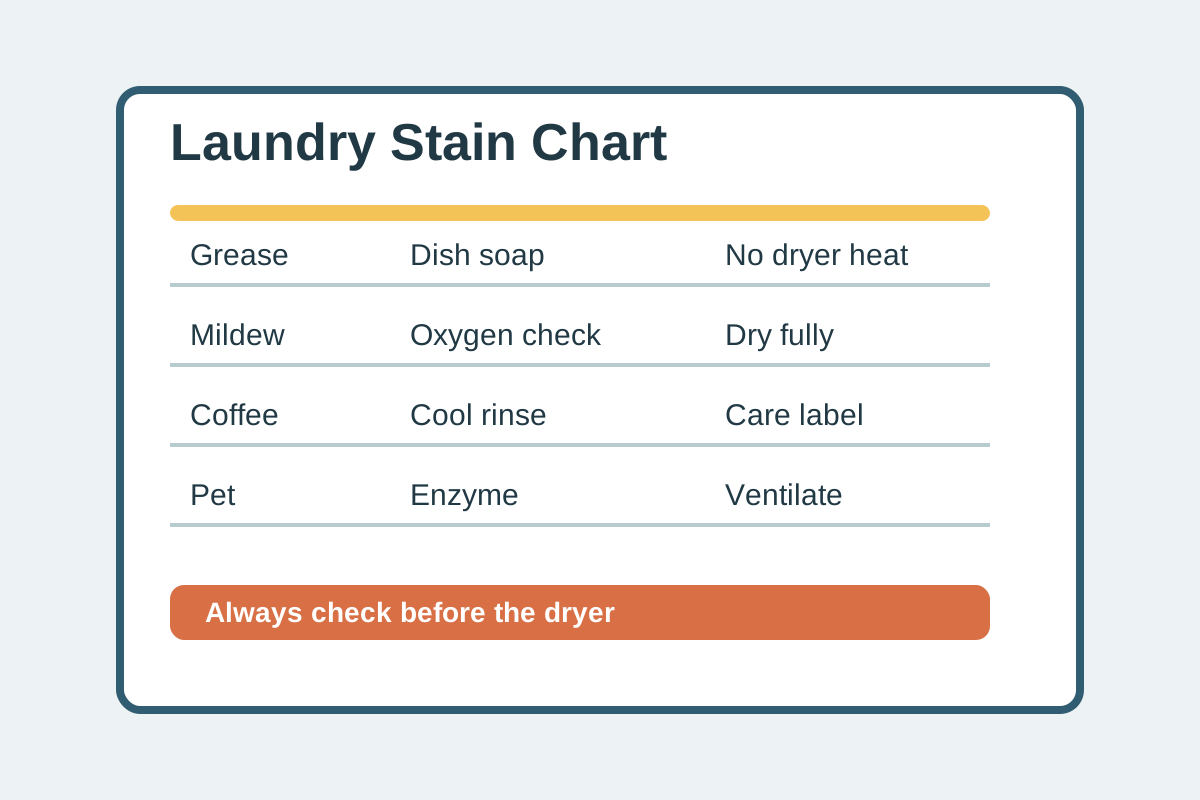
Steps that keep the job controlled
Name the material
Gather washer manual or model guide, washer cleaner or label-approved product, microfiber cloth before starting.
Keep the job reversible
Work in a small area, use the gentlest method that can work, and give the surface or fabric time to respond.
Judge only when dry
Residue, moisture, and poor lighting can make a result look worse or better than it is. Let the area dry before escalating.
Smell-check the gasket, detergent drawer, drum, filter area, and nearby drain before adding cleaner.
Wipe visible residue from the gasket, door, and drawer.
Remove lint or buildup only where the manual shows a safe access method.
Run the washer clean cycle with one product approved by the washer manual.
Do not add vinegar, bleach, ammonia, or another cleaner unless the manual and product label support it.
Leave the door and drawer open after use when the manual allows airflow.
Materials
- washer manual or model guide
- washer cleaner or label-approved product
- microfiber cloth
- small brush
- towel
Mistakes to avoid
- Mixing bleach, vinegar, washer cleaner, or ammonia-adjacent products.
- Ignoring the detergent drawer and gasket.
- Closing the washer tightly between loads so moisture stays trapped.
Use substitutes without changing the safety profile
Keep the substitute gentler than the original item and test before broad use.
Do not mix products or exceed label directions to speed up the job.
Use a clean, non-scratch, low-lint option and stop if it drags, sheds, or transfers color.
A partial controlled reset is safer than rushing the entire page task.
When the first pass does not solve it
Washer smell improves briefly and returns.
Likely cause: Residue remains in the gasket, drawer, drum, or drain area.
Fix: Repeat a smaller section, rinse or air out fully, then judge after the item is dry.
The area smells stronger or feels irritating.
Likely cause: Cleaner mixing or poor ventilation may have created fumes.
Fix: Stop, increase ventilation, leave the area if fumes or symptoms appear, and follow product-label or poison-control guidance.
The surface, fabric, or food item looks changed.
Likely cause: The method may be too wet, too hot, too strong, or incompatible.
Fix: Stop the routine and switch to care-label, surface-maker, food-safety, or qualified help.
The job takes longer than the page promise.
Likely cause: The source may be older, deeper, or repeated.
Fix: Split the task into diagnosis now and follow-up cleaning later instead of adding more product.
The same issue repeats next week.
Likely cause: The washer stays closed and damp between loads.
Fix: Move the prevention cue closer to the source and link it to the weekly reset or laundry cycle.
Prevention
- Measure detergent and avoid chronic overdosing.
- Wipe the gasket and leave airflow after laundry when the manual allows it.
Stop DIY when
- Stop if there is a leak, electrical issue, or drain backup.
- Stop if any products were mixed or fumes appear.
- Stop if the manual says not to access the filter, drain, or internal parts.
Common checks
What is the first check for a washing machine that smells?
Locate the odor in the gasket, drawer, drum, drain, or laundry habit before choosing a cleaner.
What should I avoid while handling a washing machine that smells?
Avoid mixing cleaners, guessing on delicate materials, or using heat before the label and surface fit are clear.
When should I stop the a washing machine that smells routine?
Stop if the washer leaks, the manual blocks access, or fumes appear.
How do I keep a washing machine that smells from returning?
Attach the prevention step to the place where the problem starts, then check it during the next weekly reset.
Sources and where this advice applies
These references support specific parts of the guidance. Product labels and surface instructions still control the final household choice.
Laundry care-label priority, fabric-care limits, and why heat or chemistry must follow garment instructions.
Checked 2026-06-29Cleaner-mixing stop conditions, ventilation warnings, and escalation when fumes or symptoms appear.
Checked 2026-06-29